
How To Install A New Faucet in The Kitchen
Installing a new kitchen faucet is one of the most effective ways to upgrade both the appearance and performance of your kitchen. Whether you are replacing an old, leaking model or upgrading to a modern stainless-steel option such as a high-quality faucet from DELICA kitchen faucet, the installation process follows a clear structure. This guide explains the steps needed to install a new faucet, covering preparation, installation, key precautions, and ongoing maintenance to ensure long-term performance.
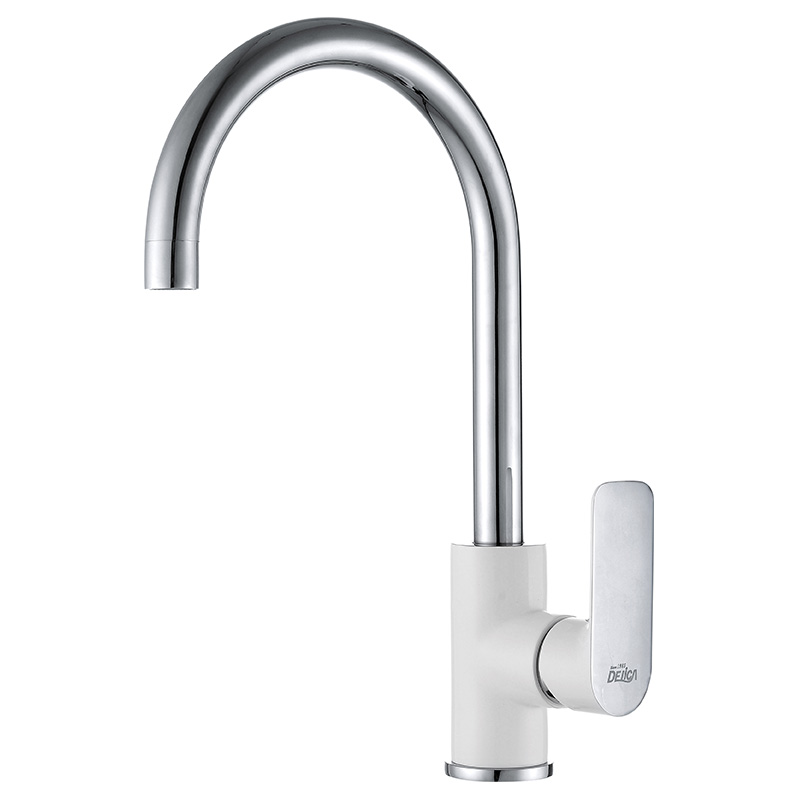
How to Install a New kitchen faucet
Installing a new faucet involves a series of organized steps. Following them carefully ensures a secure, leak-free installation and avoids unnecessary complications later.
1. Prepare the Work Area
Before any installation begins, prepare the space under the sink. Remove all stored items for easy access. Adequate lighting and room to move are essential. A towel or small bucket should be kept nearby to catch remaining water. Turning off both the hot and cold water supply valves prevents unexpected leaks during installation.
2. Disconnect the Old Faucet
Once the water is shut off, relieve pressure by turning on the old faucet. Disconnect the hot and cold supply lines at the shut-off valves using a wrench. Some older faucets may have rigid pipes; upgraded models like DELICA typically use flexible braided hoses, making both removal and reinstallation easier.
Next, locate the mounting hardware securing the old faucet beneath the sink. Loosen and remove the mounting nuts. Corroded parts may require penetrating oil and extra patience. Once free, lift the old faucet out from the top.
3. Clean the Mounting Surface
Installing a new faucet requires a clean, smooth surface to ensure proper sealing. Remove old silicone, mineral deposits, and dirt. A non-abrasive cleaner works best to avoid scratching stainless steel or enamel sinks. A clean base ensures that the new faucet aligns properly and sits firmly.
4. Position the New Faucet
Unpack the new faucet and identify its components. Insert the hoses and shank through the mounting hole. Keep the faucet facing the correct direction and ensure the base plate or gasket is aligned. DELICA faucets often include thicker, reinforced bases that enhance stability and prevent wobbling once installed.
5. Secure the Faucet From Below
Under the sink, attach the included bracket and mounting nut. Tighten evenly to ensure the faucet sits firmly on the sink surface. Avoid overtightening, which may cause deformation or damage to the sink. Modern faucet mounting systems make this process easier, often requiring only hand-tightening plus a small adjustment with a wrench.
6. Connect the Hot and Cold Water Lines
Reconnect the supply lines to the shut-off valves. Ensure that the hot line is connected to the left valve and the cold line to the right valve. Flexible hoses included with DELICA faucets allow for easy alignment even in tight spaces, reducing stress on fittings.
7. Install Additional Components (If Applicable)
Some faucets include accessories such as pull-out sprayer hoses, weight systems, or side sprayers. Install these components according to the manufacturer’s instructions. For pull-out faucets, attach the counterweight to the spray hose to ensure smooth retraction.
8. Turn On Water and Test for Leaks
Slowly open the shut-off valves and allow the faucet to fill with water. Check all connections and joints for moisture. If any seepage is found, gently tighten connections. After confirming stability, test the faucet’s range of motion, spray modes, and hot/cold temperature mixing.
This completes the installation. Under typical conditions, installing a new faucet generally takes 30–60 minutes, depending on complexity and homeowner experience.
Installation Precautions
Although installing a new faucet is straightforward, taking note of key precautions ensures safety and optimal performance.
Older Plumbing
Older homes may have worn-out valves or rigid copper pipes. Replacing them during installation prevents future leaks or connection issues.
Compatibility of Mounting Holes
Kitchen sinks come in single-hole, three-hole, or customized layouts. Single-hole faucets from DELICA can be paired with a deck plate if the sink has multiple holes.
Avoid Overtightening
Excessive force when securing the faucet or connecting hoses may damage components or cause long-term leaks. Tight but not forced is the ideal approach.
Proper Seal
Some faucets rely solely on gaskets, while others require a small amount of silicone around the base. DELICA faucets commonly include durable gaskets that maintain secure seals without additional sealant.
Check for Debris
After installation, remove the aerator and run water for a few seconds to flush out any debris from hoses or pipes.
Post-Installation Maintenance
Once your new kitchen faucet is installed, proper care extends its lifespan and maintains smooth performance.
Cleaning the Surface
Wipe the faucet regularly with a soft cloth to prevent mineral buildup. Stainless steel finishes on DELICA faucets resist corrosion and fingerprints, but gentle maintenance keeps them looking new.
Protecting the Aerator
Over time, small particles from the water supply accumulate inside the aerator. Removing and rinsing it occasionally helps maintain strong water flow.
Avoid Harsh Chemicals
Harsh cleaners can damage the faucet’s plating. Mild detergent and water are sufficient for regular cleaning.
Monitoring for Small Leaks
Even a well-installed faucet should be checked occasionally. Tightening a loose nut early prevents water damage and preserves the faucet’s integrity.
Handling Pull-Out Hoses
If using a pull-out faucet, ensure the hose weight is secure and that no items in the cabinet obstruct movement.
Summary
Installing a new kitchen faucet is manageable for most homeowners and does not require professional assistance unless plumbing issues exist. A well-designed faucet—such as those offered by DELICA—simplifies installation and ensures long-term reliability.
By preparing the workspace, following the correct installation sequence, securing the faucet properly, and testing thoroughly, you can upgrade your kitchen quickly and confidently. Paying attention to installation precautions and performing simple regular maintenance will keep the faucet functioning smoothly for years. This combination of clear steps and thoughtful care makes replacing and installing a kitchen faucet both practical and rewarding.